Table of Contents
Ready to create a candy buffet that's as delicious as it is dazzling? This guide will walk you through every step of a successful DIY candy buffet setup, transforming your next party from ordinary to extraordinary. We'll explore how to plan the perfect theme and color scheme, selecting the right candies to match your vision. Learn how to arrange your candy buffet into visually appealing zones using a variety of containers. We'll cover everything from choosing the ideal backdrop and tablecloth to adding those finishing touches that make your candy buffet truly unforgettable. This isn't just about candy; it's about creating a fun, interactive experience for your guests. Get ready to unleash your creativity and master the art of the DIY candy buffet setup. This comprehensive guide provides budget-friendly tips and creative ideas, ensuring your candy buffet is both beautiful and affordable. From choosing the perfect candy to adding the final decorative touches, we'll make your DIY candy buffet setup a sweet success. Let's get started on your amazing DIY candy buffet setup!
Planning Your DIY Candy Buffet Setup: Theme, Colors, and Candy Selection

Planning Your DIY Candy Buffet Setup: Theme, Colors, and Candy Selection
Choosing Your Candy Buffet Theme
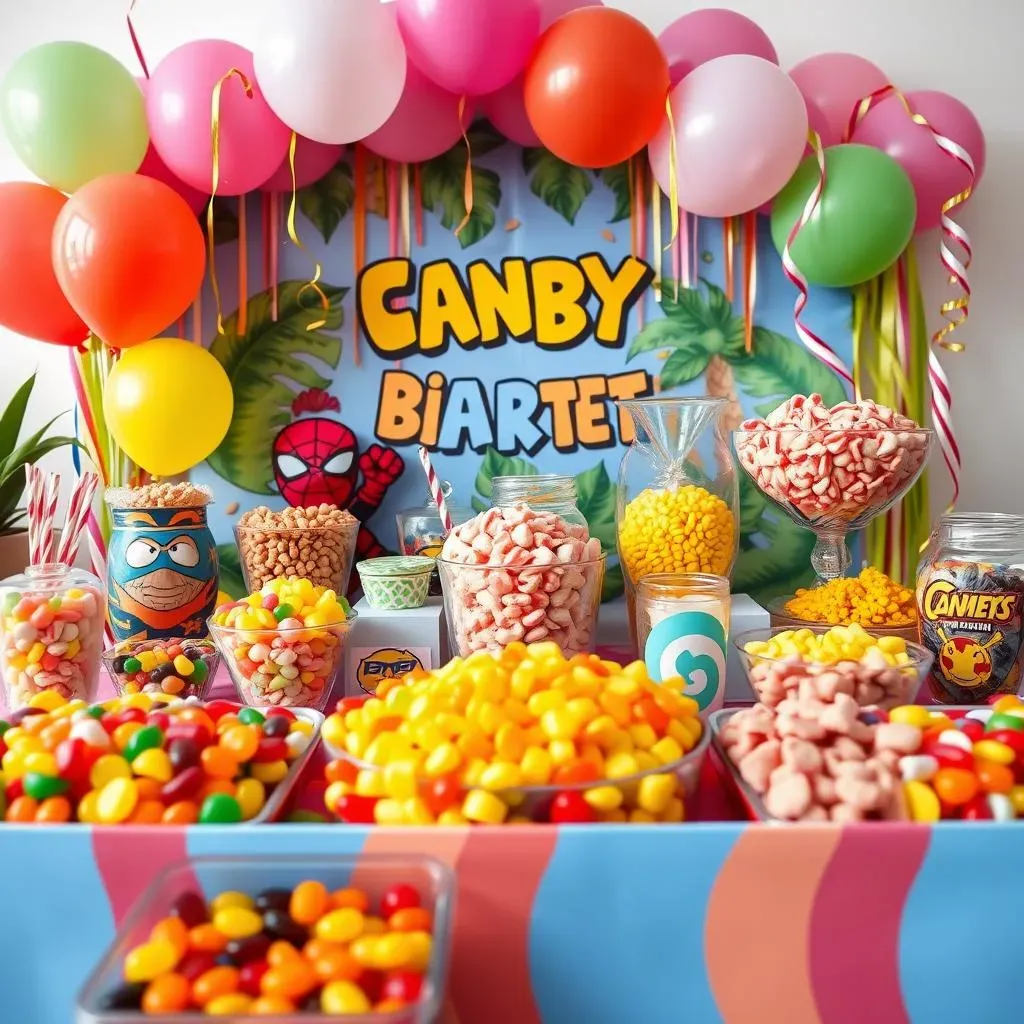
First things first: what's the occasion? A birthday party? A wedding? A graduation? The theme sets the tone for everything else. Think about what kind of vibe you want to create. Is it going to be whimsical and colorful, elegant and sophisticated, or maybe something spooky and fun for Halloween? Let's say you're throwing a superhero-themed party. Your candy choices, colors, and decorations would all reflect that. You could have red, blue, and yellow candies, maybe even some shaped like superhero logos! For a more elegant affair, you might opt for a pastel color scheme with delicate decorations. Check out some birthday party ideas here for more inspiration!
Once you've got a theme, brainstorming color palettes is super fun! You can use a color wheel to find complementary colors, or just go with your gut feeling. If your theme is a tropical luau, think bright oranges, pinks, and yellows. A winter wonderland theme might call for icy blues, silvers, and whites. Remember, the colors should complement each other and enhance the overall aesthetic of your candy buffet. Don't be afraid to experiment! You can even use color psychology to your advantage. For instance, red is known to stimulate appetite, while blue is often associated with calmness. A balanced approach is key.
Theme | Color Palette | Candy Suggestions |
|---|---|---|
Superhero | Red, Blue, Yellow | M&Ms, Skittles, Gummy Bears |
Tropical Luau | Orange, Pink, Yellow | Pineapple candies, gummy tropical fruits, coconut candies |
Winter Wonderland | Blue, Silver, White | White chocolate, peppermint candies, blue rock candy |
Selecting Your Candy: Quantity and Variety
Now for the fun part – picking the candy! You want a good mix of textures and flavors to satisfy every sweet tooth. Think about including chocolates, gummies, hard candies, and maybe even some unique options like flavored popcorn or pretzels. Consider your guests and their preferences. Do they prefer chocolate, fruity, or sour candies? Are there any allergies you need to be aware of? This is crucial for a successful DIY candy buffet setup. Remember to buy enough candy for everyone. A good rule of thumb is to have at least half a pound of candy per guest, but if you anticipate a large crowd or particularly enthusiastic candy lovers, you might want to increase that amount. It's always better to have some leftovers than to run out of candy before everyone's had their fill.
Variety is the spice of life, especially when it comes to candy! Offer a mix of different types and flavors to appeal to a wide range of palates. Don't forget to consider the visual appeal of your candy selection. A colorful and varied display will be much more eye-catching than a table full of the same type of candy. Consider using different sizes and shapes of candies to create visual interest. For example, you could mix small candies like M&Ms with larger items like lollipops. This will add depth and texture to your candy buffet. Remember to order your candy well in advance, especially if you're planning a large event. This will give you plenty of time to plan your display and make sure you have enough candy for everyone. For additional inspiration, check out these awesome ideas for candy buffets: Candy Buffet Ideas.
- Chocolates (milk, dark, white)
- Gummies (various shapes and flavors)
- Hard candies (various flavors and colors)
- Lollipops
- Specialty candies (e.g., sour straws, chocolate-covered pretzels)
Setting Up Your DIY Candy Buffet: Zones, Containers, and Candy Arrangement

Setting Up Your DIY Candy Buffet: Zones, Containers, and Candy Arrangement
Creating Zones for Visual Appeal
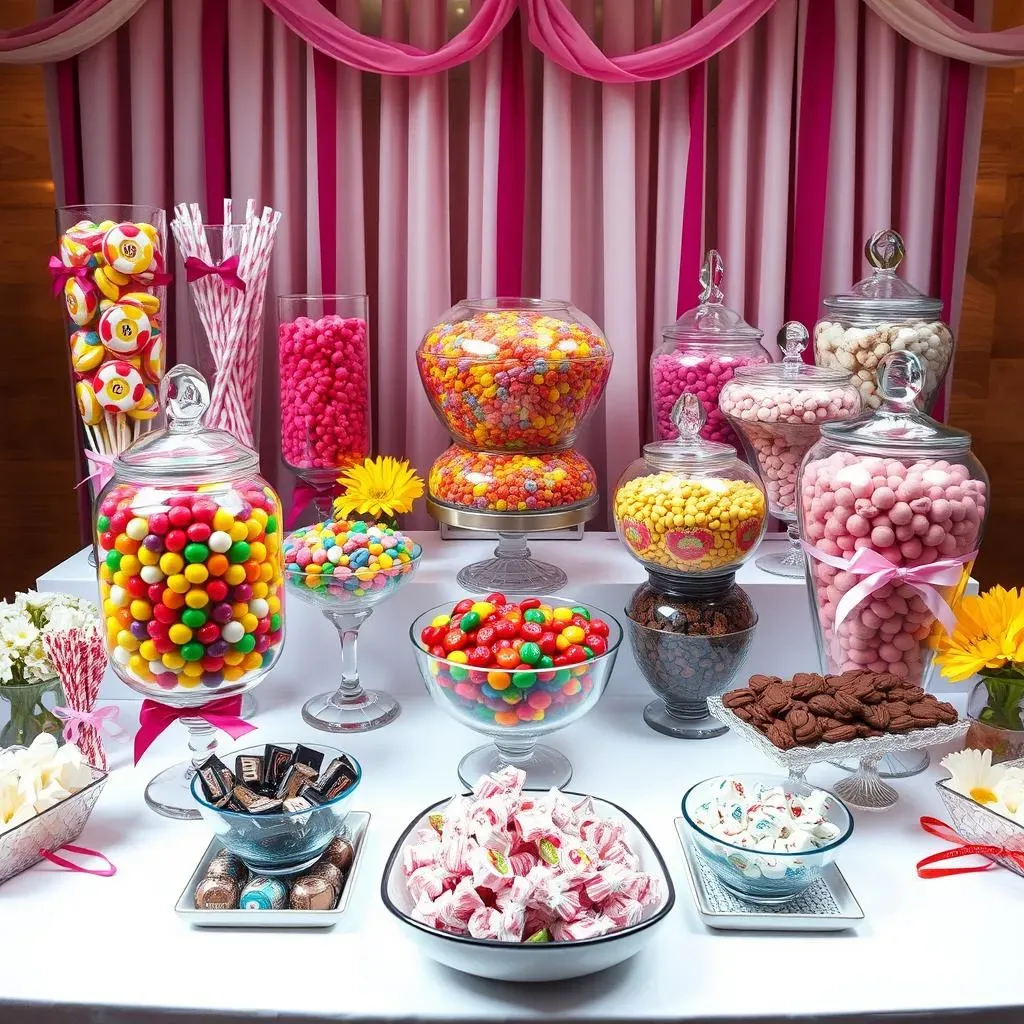
Think of your candy buffet as a stage, and your candy as the stars of the show! Instead of just dumping all your sweets onto one big pile, create distinct zones to add visual interest and make it easier for guests to navigate. A common approach is to divide your table into three zones: a back zone for taller items, a middle zone for bulk candies, and a front zone for smaller, individually wrapped treats. The back zone might feature elegant glass jars or apothecary jars filled with colorful candies. The middle zone could showcase bulk candies in large bowls or containers, while the front zone could hold smaller items like individually wrapped chocolates or lollipops. This tiered approach adds depth and visual appeal, creating a more dynamic and engaging display. Remember, this is your chance to showcase your creativity – don't be afraid to experiment with different heights and arrangements to make your candy buffet stand out!
Consider the flow of your candy buffet. You want to make it easy for guests to see and access all the candy. A good layout will also help you avoid overcrowding the table. Think about the height of your containers and how they will look together. You don’t want to create a chaotic jumble of items. Instead, aim for a balanced and visually appealing arrangement. A well-planned candy buffet not only looks great, but it also makes it much easier for guests to help themselves to their favorite treats. To get some additional inspiration for your candy buffet layout, check out these amazing ideas for birthday parties: Birthday Candy Buffets.
Zone | Container Suggestions | Candy Types |
|---|---|---|
Back | Tall glass jars, apothecary jars | Lollipops, rock candy |
Middle | Large bowls, baskets, tiered trays | M&Ms, Skittles, gummy bears |
Front | Small bowls, trays, baskets | Individually wrapped chocolates, mints |
Choosing the Right Containers: Style and Functionality
Your candy containers are just as important as the candy itself! They set the tone for your buffet and play a crucial role in its overall aesthetic. Choose containers that match your theme and color scheme. For a rustic theme, you might use wooden crates or galvanized metal buckets. A more elegant affair might call for crystal bowls or vintage glass jars. Functionality is key, too. Make sure your containers are the right size for the amount of candy you have, and that they're easy for guests to access. If you're using bulk candy, choose containers with wide openings to make scooping easy. If you have smaller candies, consider using smaller bowls or containers to avoid spillage. The right containers will not only enhance the look of your buffet, but they'll also make it easier for your guests to enjoy the candy.
Don't underestimate the power of visual appeal when choosing your containers. Clear glass containers allow the colorful candy to shine through, creating a vibrant and attractive display. You can also use containers with different textures and patterns to add visual interest. For example, you could mix glass jars with rustic wooden boxes or metal buckets. Remember, your containers should complement your theme and color scheme, creating a cohesive and stylish candy buffet. A little creativity can go a long way in making your candy buffet stand out. Consider using containers of varying heights and sizes to create visual depth and interest. This will add a dynamic and eye-catching element to your display. For more inspiration, don’t forget to check out these additional candy buffet ideas: More Candy Buffet Ideas.
- Glass jars
- Bowls (various sizes and materials)
- Baskets
- Wooden crates
- Metal buckets
Arranging Your Candy: Height, Color, and Texture
Now comes the fun part – arranging your candy! Think about creating a visually appealing display by varying the heights of your containers. Use a mix of tall and short containers to add dimension and interest. You can also create visual interest by grouping candies by color or texture. For example, you could place all the red candies together in one area, and all the green candies in another. This will make your candy buffet more organized and visually appealing. Don't be afraid to experiment with different arrangements until you find one that you love. The goal is to create a display that is both beautiful and functional.
Consider using signage to label your candy. This is especially helpful if you have a lot of different types of candy or if you're catering to guests with allergies. Clear and concise labeling will help your guests make informed choices. Remember to keep safety in mind when arranging your candy. Make sure your containers are stable and won’t easily tip over. You also want to make sure that the candy is easy to reach for guests of all ages and heights. A well-organized and safe candy buffet will make your event more enjoyable for everyone. And finally, don't forget the finishing touches! Add some decorative elements, such as ribbons, flowers, or themed decorations, to complement your candy and containers. These little details can make a big difference in creating a truly memorable candy buffet.
"The details are not the details. They make the design." - Charles Eames
DIY Candy Buffet Setup: Finishing Touches, Budget Tips, and Creative Ideas

DIY Candy Buffet Setup: Finishing Touches, Budget Tips, and Creative Ideas
Adding the Finishing Touches: Elevating Your Candy Buffet
Okay, your candy is arranged, your containers are strategically placed – now it's time for the magic touch! Think of these finishing touches as the sprinkles on your already delicious cake. A simple yet elegant tablecloth can transform the entire look. Consider a color that complements your candy and theme, maybe even one with a subtle pattern. A themed backdrop can also add a significant "wow" factor. Imagine a shimmering gold backdrop for a glamorous event or a whimsical, cartoonish backdrop for a children's party. These details instantly elevate the overall aesthetic, making your DIY candy buffet setup even more impressive. Don't forget the little things – strategically placed flowers, themed decorations (like mini superhero figurines!), or even small signs to label your candies add a personalized touch.
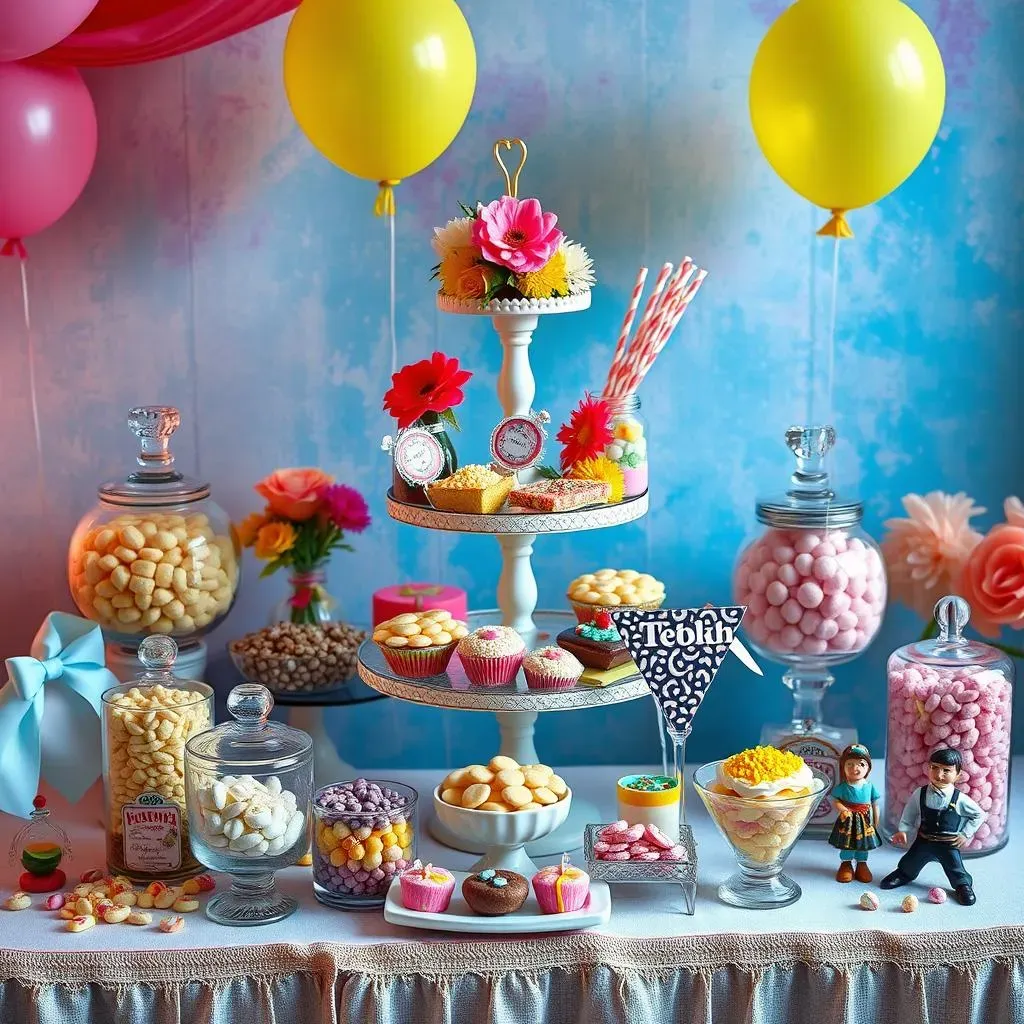
Consider adding some height to your display. Tiered stands or cake stands can be a great way to showcase your candy and add visual interest. You can also use different heights of containers to create a dynamic and visually appealing display. Remember, your goal is to create a candy buffet that is both visually stunning and easy for your guests to navigate. For some additional inspiration, check out this article on birthday candy buffet ideas – there are some truly amazing ideas there!
Finishing Touch | Description | Example |
|---|---|---|
Tablecloth | Sets the overall tone and color scheme. | Sequin tablecloth for a glamorous event, burlap for a rustic theme. |
Backdrop | Adds a visual focal point behind the candy buffet. | Themed backdrop (e.g., superhero logos, floral designs). |
Decorations | Adds personality and complements the theme. | Flowers, balloons, themed figurines. |
Budget-Friendly Tips for Your DIY Candy Buffet Setup
Creating a stunning candy buffet doesn't have to break the bank! One of the best ways to save money is to repurpose items you already have at home. Think about using jars, bowls, and containers you already own. You can also get creative with your decorations by using DIY crafts or repurposing items you already have. Thrift stores and flea markets are treasure troves of inexpensive and unique containers. You can often find beautiful glass jars, vintage containers, and other decorative items at incredibly low prices. Don't be afraid to get creative and think outside the box – you might be surprised at what you can find!
Consider buying your candy in bulk. This is often much cheaper than buying smaller packages. You can also save money by making some of your own candy or treats. This can be a fun way to personalize your candy buffet and add a unique touch. For example, you could make your own chocolate-covered pretzels or caramel apples. Remember, your DIY candy buffet setup is all about personalization and creativity – don't be afraid to experiment and have fun with it! This article on budget-friendly candy buffets has some great ideas on how to save money without sacrificing style.
- Repurpose existing containers.
- Shop at thrift stores and flea markets.
- Buy candy in bulk.
- Make some of your own treats.